- Published on
Setting up Istio
- Authors

- Name
- Marcelo Carmona
- @carmonamarcelo
Istio is an open-source service mesh that layers transparently onto existing distributed applications. Istio's powerful features provide a uniform and more efficient way to secure, connect, and monitor services. https://istio.io
Install Istio (macOS)
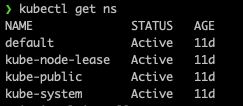
Check Kubernetes namespaces with kubectl get ns.
Install istioctl.
brew install istioctl
istioctl install

With kubectl get ns, you will see the new namespace created by istioctl.

With kubectl get pod -n istio-system, you will see the new pods created by Istio.

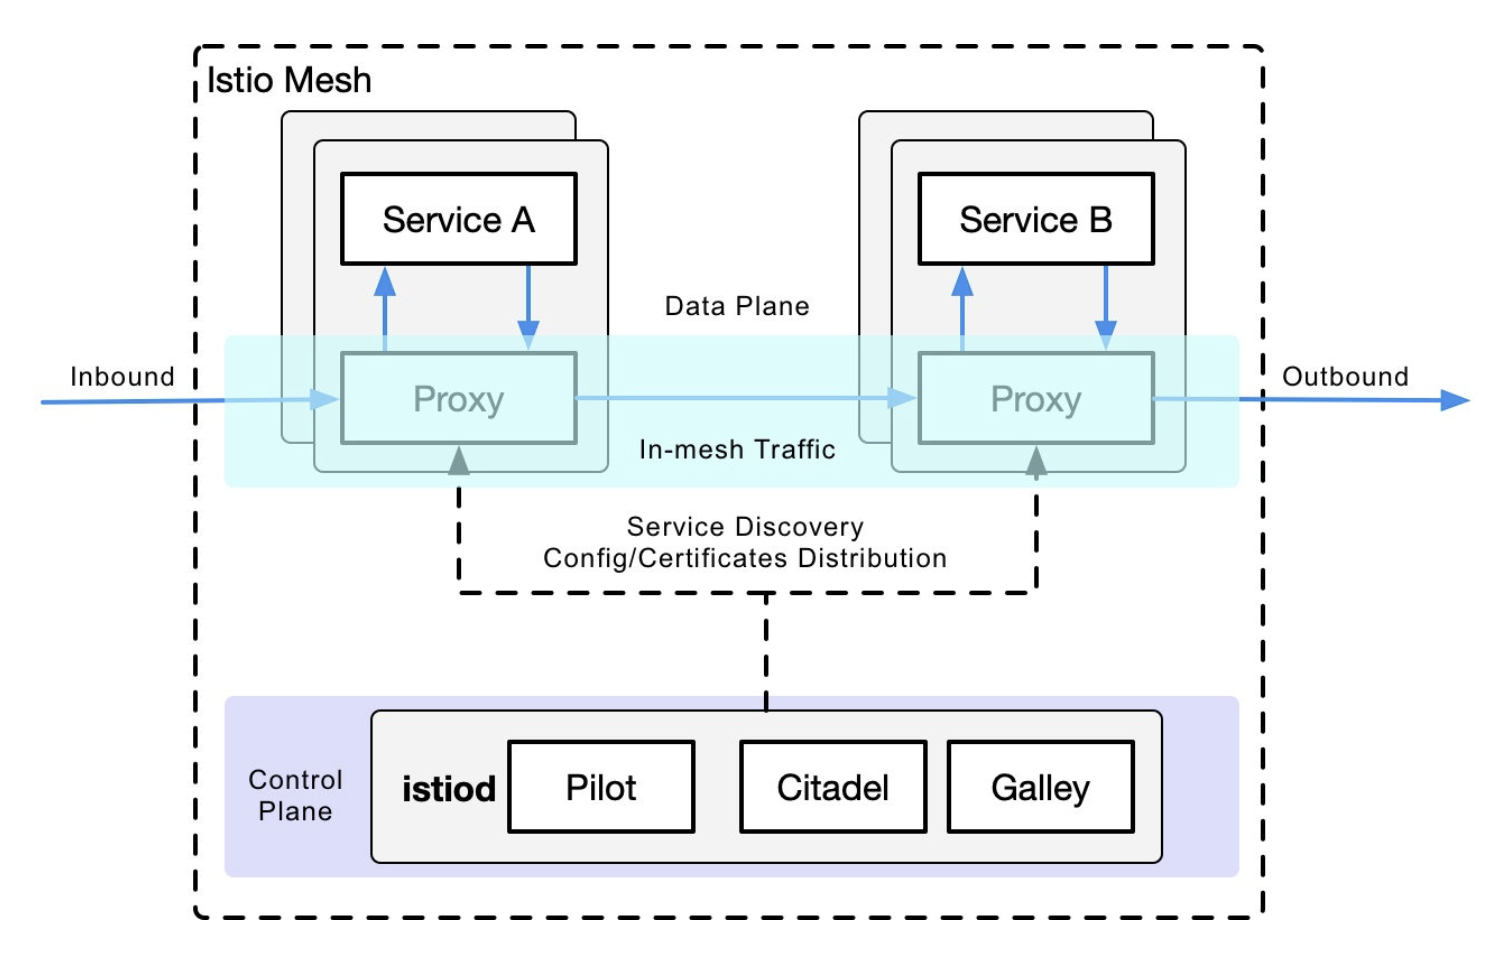
Istio is a very feature-rich service mesh that includes the following capabilities.
- Traffic Management: This is the most basic feature of Istio.
- Policy Control: Enables access control systems, telemetry capture, quota management, billing, etc.
- Observability: Implemented in the sidecar proxy.
- Security and Authentication: The Citadel component does key and certificate management.
Run an example in Kubernetes
I'm going to use this example: microservices-demo.
git clone https://github.com/GoogleCloudPlatform/microservices-demo.git
# or download https://github.com/GoogleCloudPlatform/microservices-demo/blob/master/release/kubernetes-manifests.yaml
cd microservices-demo/release
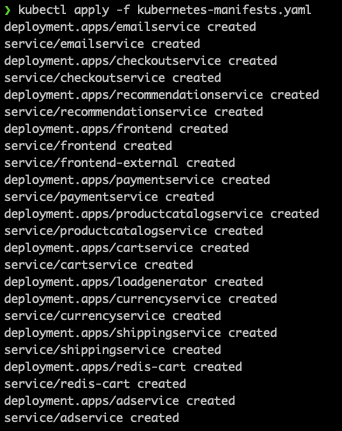
Run the demo manifest: kubectl apply -f kubernetes-manifests.yaml.
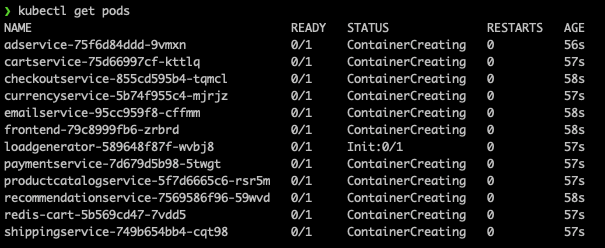
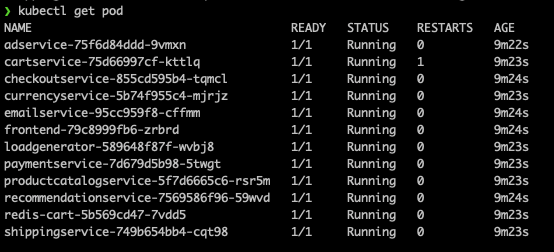
Run kubectl get pod and wait until the status is Running.
To configure Envoy proxy injection, we need to label the default namespace with istio-injection=enabled.
Let's see the current labels with kubectl get ns default --show-labels.

Run kubectl label namespace default istio-injection=enabled.

So now we can shut down all the pods and recreate them to see the proxies being injected.
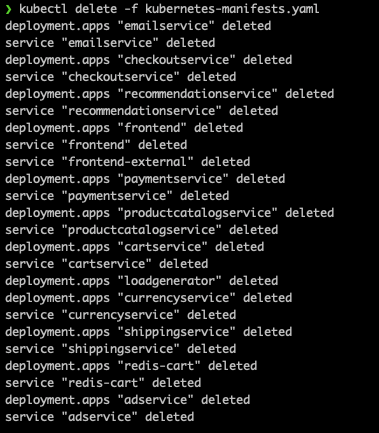
Run kubectl delete -f kubernetes-manifests.yaml.
Run kubectl get pod.

Run kubectl apply -f kubernetes-manifests.yaml.
Run kubectl get pod.
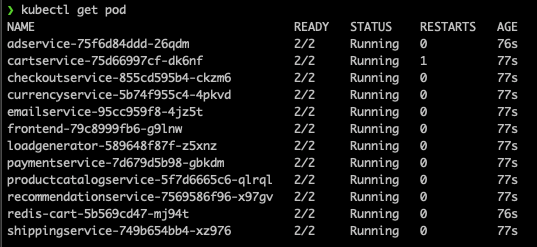
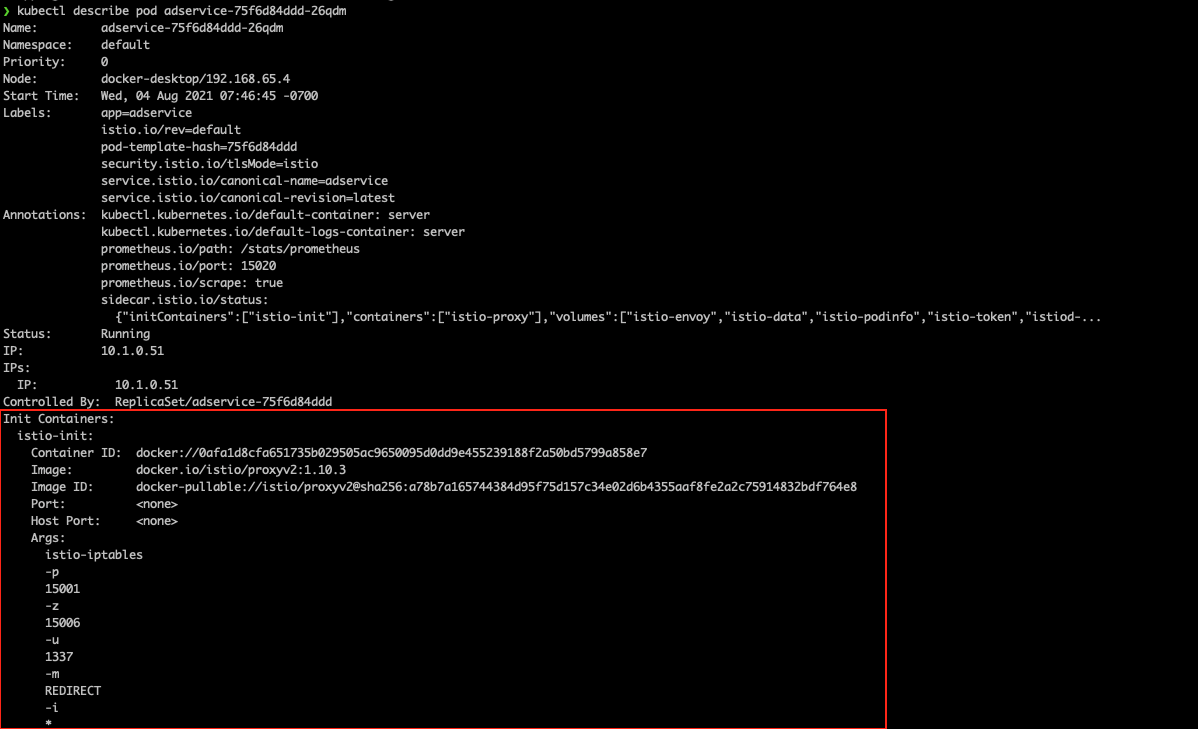
You can now see the proxy inside any pod with kubectl describe pod <a-pod-name>.
Install Istio integrations for visualization and monitoring (Kiali, Grafana, Prometheus, and Jaeger)
We are going to use these add-ons.
git clone https://github.com/istio/istio.git
cd istio
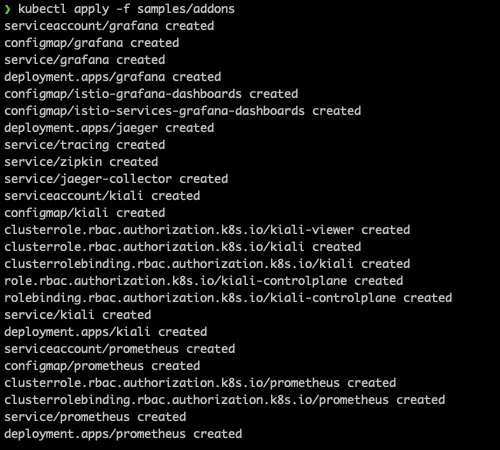
# To quickly deploy all addons:
kubectl apply -f samples/addons
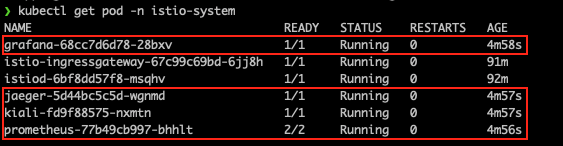
You can see the new pods running with kubectl get pod -n istio-system.
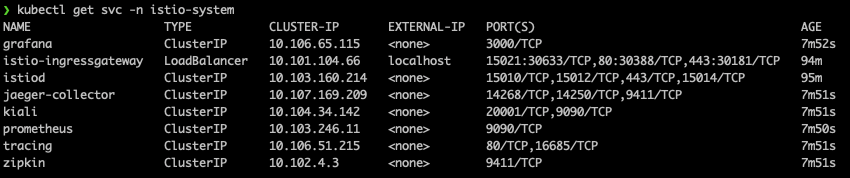
To see the services, run kubectl get svc -n istio-system.
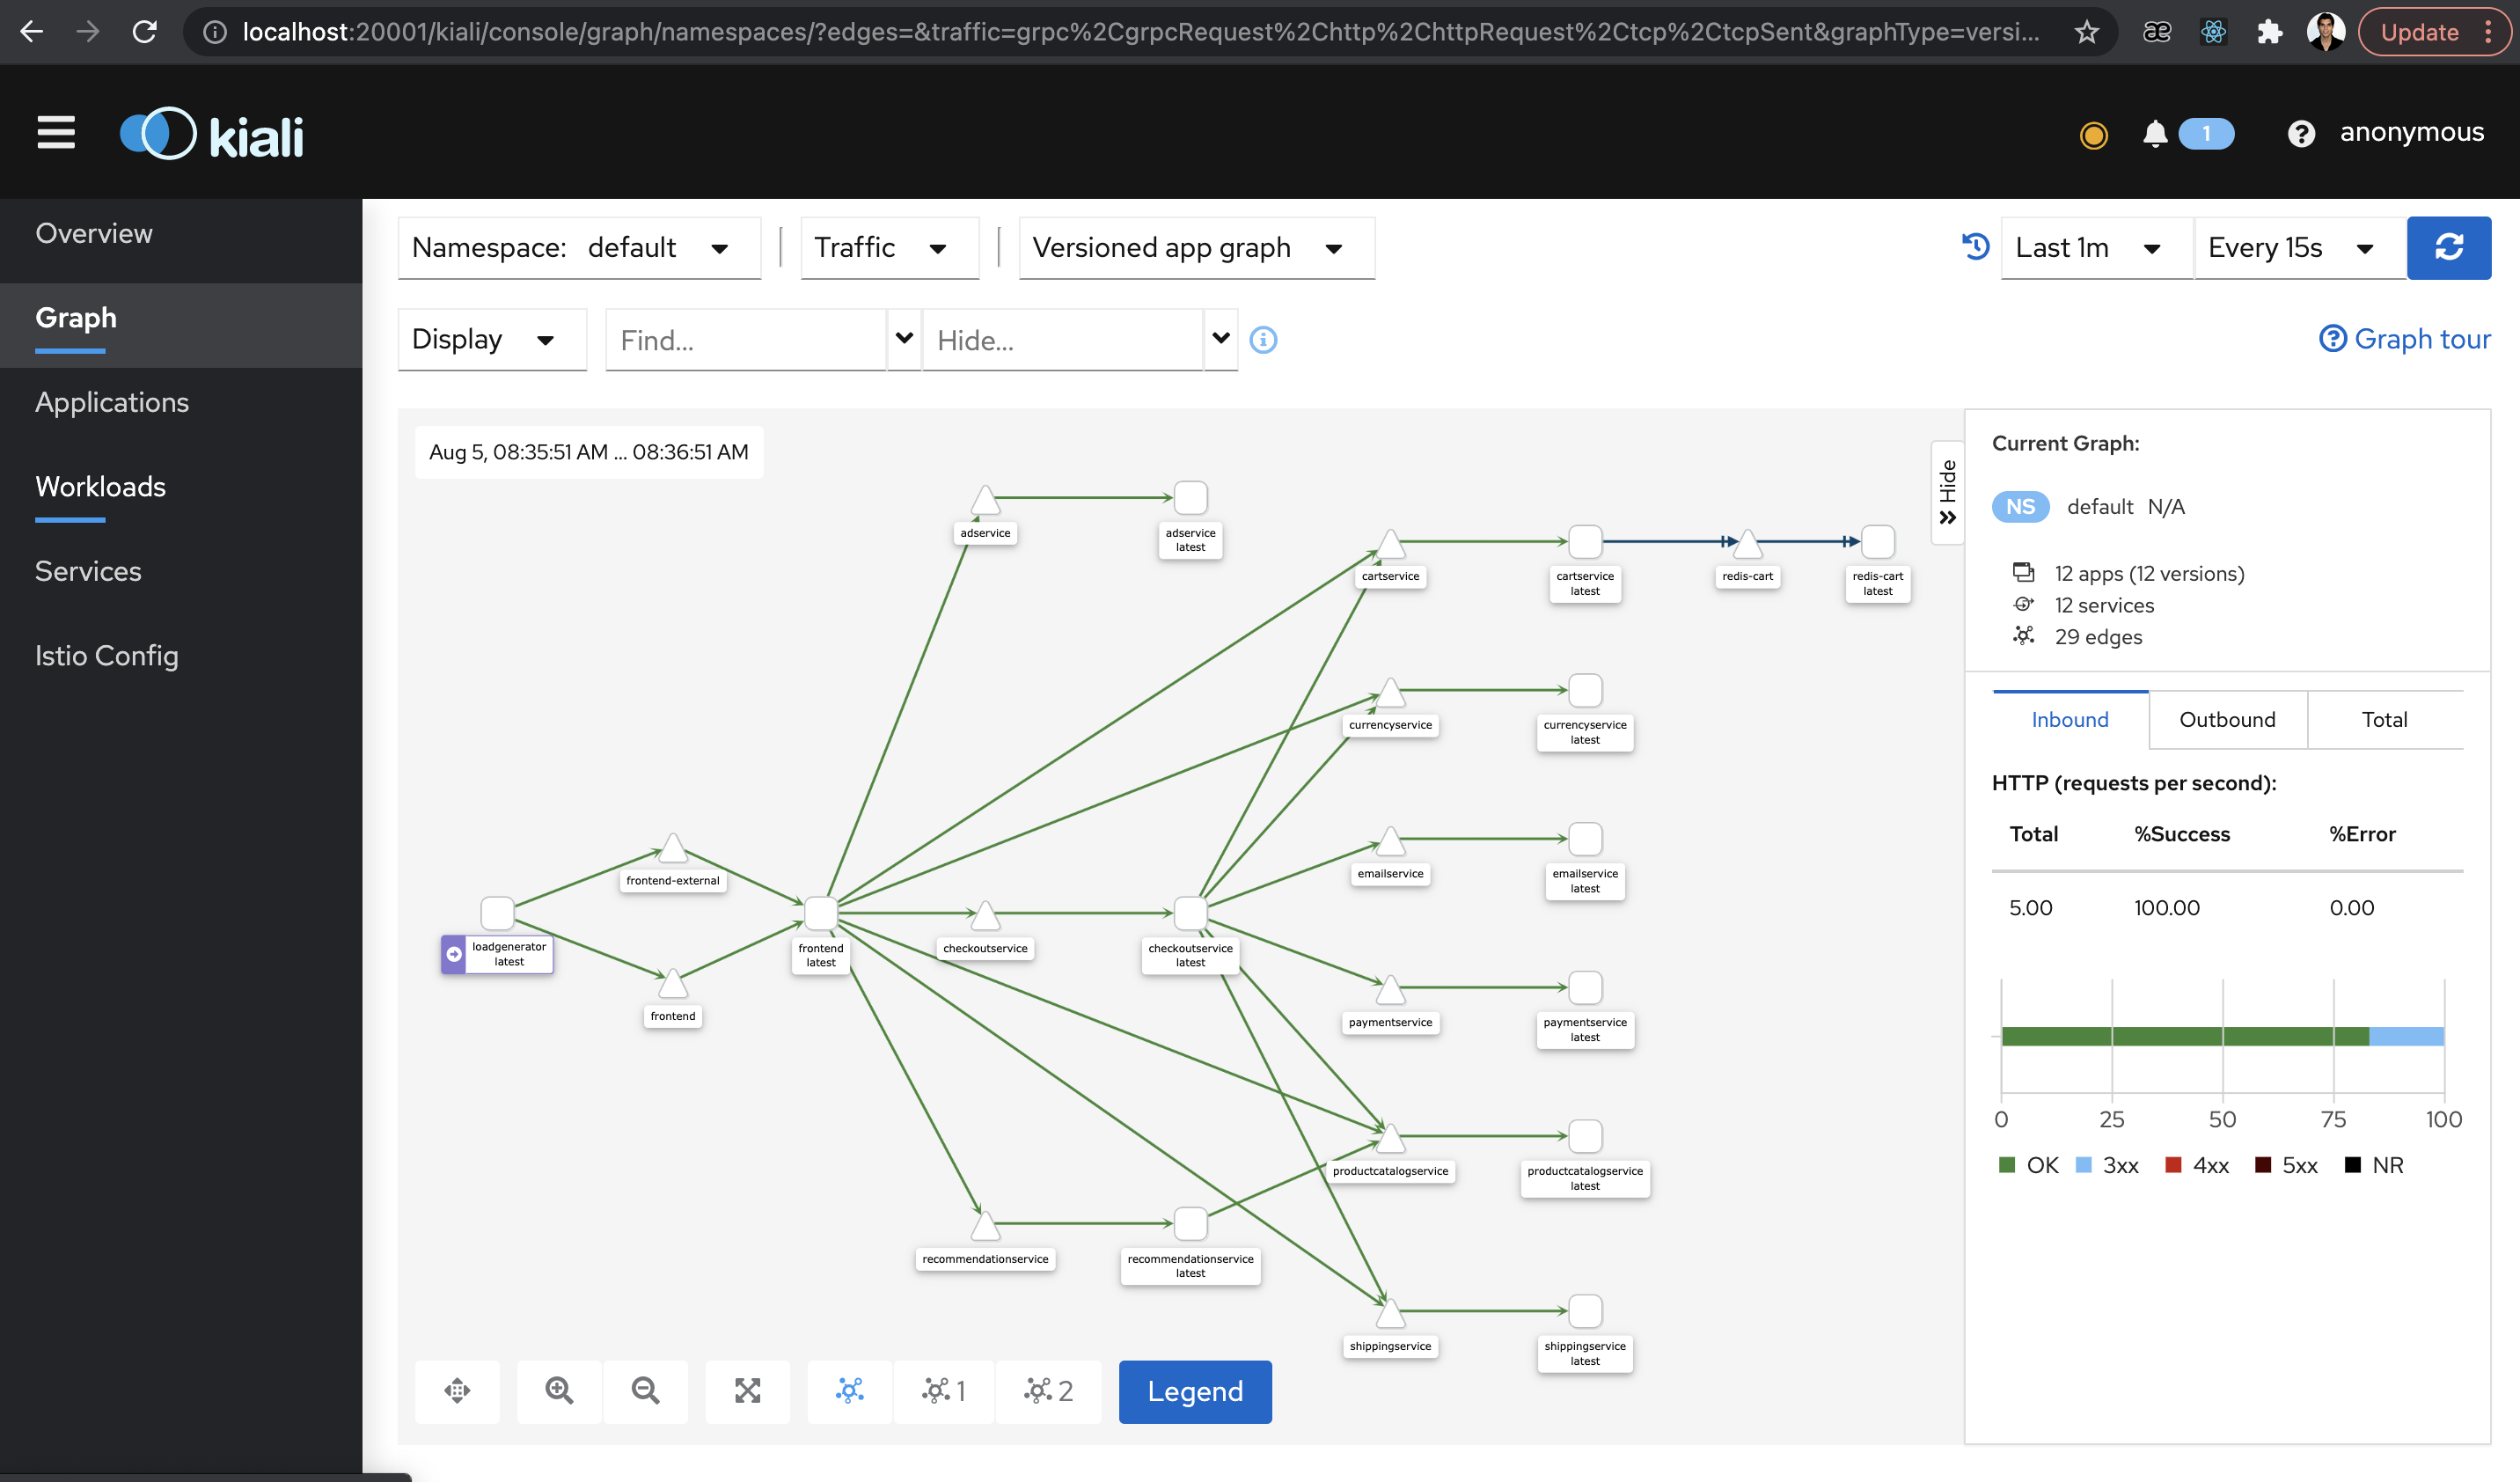
Port-forward to access the frontend and Kiali.
Run kubectl port-forward svc/kiali -n istio-system 8081:80.

Run kubectl port-forward svc/kiali -n istio-system 20001.

Go to http://localhost:20001/ and you will see the Kiali dashboard.